Metallographic polishing removes scratches and deformation left by earlier preparation while preserving the features needed for analysis. A mirror-like surface is not enough: the specimen must retain its edges, phases, inclusions, and interfaces without preparation artifacts that distort the result.
The right polishing method depends on the specimen material, the condition left by grinding, and the intended examination. Select the cloth, abrasive, lubricant, and machine settings as a working system—not as independent purchases.
For a production laboratory, this means balancing preparation quality with turnaround time and operator workload. For a failure-analysis laboratory, preserving a narrow crack, coating interface, or irreplaceable cross-section may take priority over speed. For EBSD, an optically attractive surface may still contain deformation that compromises diffraction patterns.
This guide explains how to choose metallographic polishing methods and consumables, control the process, diagnose defects, verify analytical readiness, and compare equipment using representative specimen results.
What Is Metallographic Polishing—and What Should It Achieve?
Metallographic polishing is a controlled material-removal process used to refine a prepared specimen surface for examination. It usually follows grinding and may involve diamond abrasives, oxide suspensions, vibratory preparation, or an application-specific electrochemical method.
What Is the Purpose of Polishing in Metallography?
Polishing should:
-
Remove scratches and deformation remaining from earlier preparation.
-
Preserve microstructural features rather than smear or remove them.
-
Maintain suitable flatness and edge integrity.
-
Produce a surface appropriate for the intended examination.
The endpoint is therefore analytical, not merely visual.
A coating measurement requires a preserved edge. Inclusion analysis requires retained particles and a clean surface. EBSD requires a surface condition suitable for diffraction. These are related but different preparation tasks.
Metallographic Polishing vs. Decorative Metal Polishing
| Factor | Decorative or production polishing | Metallographic polishing |
|---|---|---|
| Primary objective | Appearance or specified functional finish | Reliable examination of material structure |
| Typical acceptance | Visual or production specification | Application-specific analytical suitability |
| Feature preservation | Depends on the product requirement | Central to the preparation method |
| Verification | Appearance, dimensions, or finish | Microscopy, measurement, or analytical performance |
A general metal polish or buffing compound is not automatically suitable for laboratory specimen preparation.
Does Polishing Remove Material?
Yes. Polishing is not simply cleaning or shining the surface.
This matters when preparing targeted cross-sections. Additional polishing can move the examination plane beyond a small defect or change the geometry of a thin layer. The removal rate depends on the specimen, abrasive, supporting surface, load, motion, fluid, and time.
Do not use a universal removal-rate assumption for different materials or machines.
Why a Mirror Finish Does Not Prove Analytical Readiness
A bright surface can still contain relief, rounded edges, smeared material, residual deformation, or polishing residue.
Soft polishing surfaces can allow different phases to abrade at different rates, producing relief height differences across the prepared surface. Extended final polishing can worsen this condition rather than improve the specimen.
Grinding vs. Polishing: What Must Be Complete Before the Handover?
Before polishing, the required plane should be established, and the grinding condition should be consistent with the next step.
Polishing should not compensate for a badly tapered specimen or serious unresolved sectioning damage. If preparation repeatedly requires excessive polishing time, review the incoming surface.
Before extending the polishing cycle, check whether the previous stage established a flat surface and removed the earlier damage. Our guide to metallographic grinding sequence and process control explains how to assess scratch removal, select abrasives, and define a suitable handover condition.
Before Polishing: Define the Specimen, Target Feature, and Analysis Requirement
A useful method begins with a written definition of what must remain visible and measurable.
Inspect the Surface Left by Grinding
Check the entire relevant region, not only the center of the mount.
Look for deep scratches, unevenness, pull-out, edge damage, and contamination. Confirm that the intended feature is present and that sufficient material remains for subsequent preparation.
A practical handover record can include a low-magnification image of the incoming surface. This helps distinguish defects inherited from grinding from defects introduced later.
Identify the Features That Must Survive Polishing
Typical targets include:
-
Thin coatings and surface-treatment layers.
-
Hard particles in a soft matrix.
-
Graphite in cast iron.
-
Nonmetallic inclusions.
-
Pores and microcracks.
-
Solder joints and electronic interfaces.
-
Small features within a targeted cross-section.
These targets influence the choice of mounting support, cloth, abrasive, and endpoint.
Set the Finish Around the Final Examination
| Examination | Primary preparation question |
|---|---|
| Unetched optical inspection | Are pores, inclusions, cracks, and interfaces preserved? |
| Etched microstructure | Can the structure be revealed without preparation artifacts? |
| Coating measurement | Is the original edge intact and measurable? |
| Microhardness | Is the surface suitable for locating and measuring indentations? |
| SEM imaging | Are topography and contamination compatible with the task? |
| EBSD | Is the surface suitable for reliable diffraction under controlled acquisition conditions? |
Define Material-Removal Limits for Targeted Cross-Sections
Record the target location and planned inspection intervals.
For a narrow feature, shorten preparation intervals as the target approaches. Do not continue polishing simply because the programmed cycle has not finished.
Where the target is irreplaceable, include a stop-and-review condition in the method.
Metallographic Polishing Methods: Which Route Fits Your Application?
Mechanical, vibratory, and electrolytic methods are alternatives or complementary routes. They are not three mandatory stages.
Mechanical Polishing with Diamond Abrasives
Diamond polishing is widely used to remove remaining grinding scratches and refine hard constituents as well as the matrix.
Its performance depends on more than abrasive size. A 3 µm diamond suspension on one cloth may behave differently from the same nominal abrasive on another supporting surface.
For effective cutting across different phases, diamond is frequently used because of its hardness. However, differential removal and surface damage still require control.
Final Oxide Polishing with Colloidal Silica or Alumina
Oxide polishing is often used for final refinement.
Colloidal silica provides a chemical-mechanical action rather than purely abrasive removal. A common nominal particle size is approximately 0.05 µm, although formulations vary. Published EBSD preparation guidance describes silica suspensions with alkaline pH values around 8–11; these figures describe particular product classes, not every final-polishing liquid.warwick+1
Alumina is another established final-polishing abrasive. The better choice depends on material response, analytical requirements, residue control, and the complete preparation system.
Vibratory Polishing: When Longer Unattended Preparation Is Useful
A metallographic vibratory polisher can provide additional refinement after mechanical preparation, particularly when residual deformation is important.
Its purchasing value may come from reducing hands-on work rather than shortening elapsed time. It can be useful for selected EBSD specimens, but it is not mandatory for every material or analysis.
University preparation guidance describes specimen-dependent vibratory polishing and emphasizes keeping the cloth clean and preventing suspension from drying. That variability is a reason to validate the process rather than adopt a universal overnight cycle.
Electropolishing vs. Mechanical Polishing
Electropolishing removes material through controlled electrochemical dissolution. It can remove mechanically disturbed surface layers in suitable metals.
It also has limitations. Different phases may dissolve preferentially, and some nonmetallic inclusions can be attacked by the electrolyte. These effects can compromise feature preservation.
| Selection factor | Mechanical polishing | Electropolishing |
|---|---|---|
| Removal mechanism | Abrasive contact | Electrochemical dissolution |
| Main controls | Cloth, abrasive, fluid, load, motion | Electrolyte and electrical/process conditions |
| Key risk | Scratches, deformation, relief, edge loss | Selective dissolution and feature alteration |
| Main validation | Prepared features and analytical result | Uniformity and preservation of the required structure |
| Safety requirements | Machine and chemical controls | Electrolyte-specific and electrical controls |
ASTM E1558 addresses electrolytic polishing of metallographic specimens. It should not be presented as a certification for every mechanical polishing method.
A Decision Matrix for Selecting the Polishing Route
Routine Optical Examination
Start by evaluating a controlled mechanical sequence that preserves the required features and produces a repeatable input for observation or etching.
Edge-Sensitive Coatings and Multiphase Materials
Prioritize edge support, flatness, and limited differential removal. A more compliant cloth or longer cycle is not automatically better.
Deformation-Sensitive Analysis
Evaluate an appropriate final mechanical, chemical-mechanical, vibratory, or electrochemical route. Verify using the actual analysis.
Fragile, Porous or Targeted Specimens
Control support and material removal. Avoid applying a cleaning or polishing operation that removes the very evidence under investigation.
How to Choose Metallographic Polishing Cloths and Pads
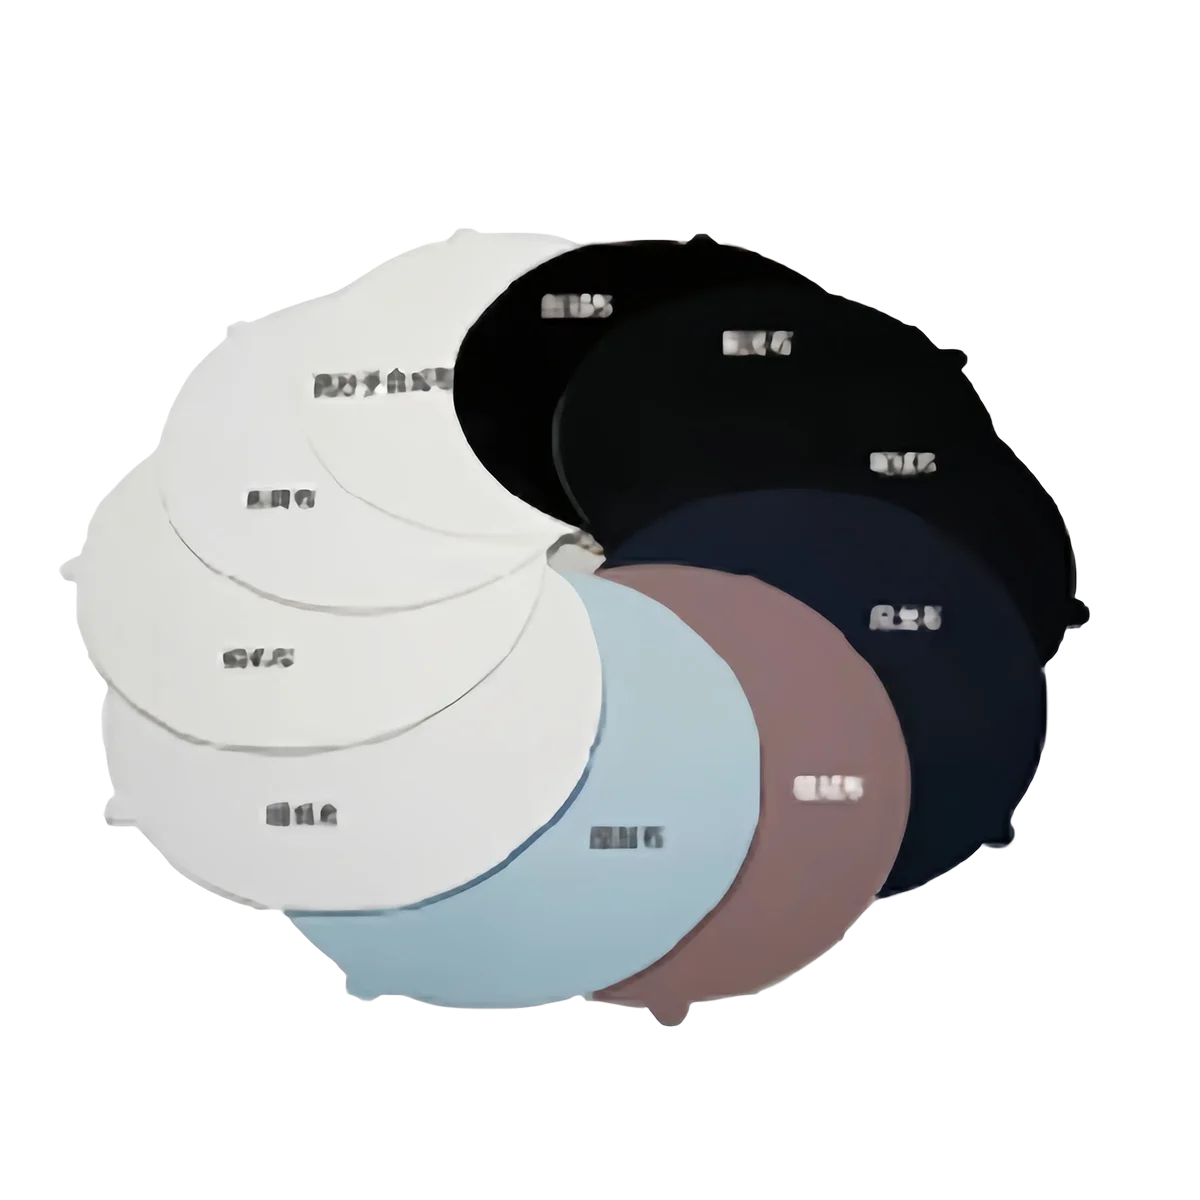
The cloth is an active part of the preparation system, not merely a surface that holds liquid.
Polishing Cloths vs. Pads: Look Beyond the Product Name
Commercial terminology varies. “Cloth” and “pad” do not consistently identify a specific construction or preparation stage.
Compare the actual surface structure, compliance, abrasive compatibility, attachment system, and recommended use.
Woven, Nonwoven, Low-Nap and Napped Surfaces
A relatively firm surface can help preserve geometry during initial polishing. A more compliant surface may improve fine scratch removal but can also increase differential removal.
A common approach is to begin with a firmer cloth and coarser abrasive, then move toward finer abrasives and a different supporting surface. However, the final cloth must suit the specimen; “softest available” is not a universal selection rule.
Why Softer Cloth Does Not Always Mean a Better Finish
Consider a hard particle embedded in a soft matrix. If the supporting surface permits greater removal of the matrix, the specimen can become shiny while the particle stands proud.
That surface may be unsuitable for image analysis or measurements requiring a common plane.
Select against the feature being preserved, not the feel of the cloth.
Match the Cloth to the Abrasive and Preparation Stage
| Selection question | What to verify |
|---|---|
| Does the surface support the required geometry? | Edge and interface condition |
| Is it compatible with the abrasive? | Effective removal without abnormal scratching |
| Does it produce relief? | Hard/soft phase boundaries |
| Can contamination be controlled? | Cleaning, storage, and stage separation |
| How does it change with use? | Repeatability over useful cloth life |
Check Disc Diameter, Backing and Platen Compatibility
Confirm diameter, adhesive or magnetic mounting arrangement, seating, and compatibility with the platen.
Inspect for trapped debris and local lifting. A correctly selected cloth installed unevenly can still produce an unacceptable result.
Compare our metallographic polishing cloths by surface construction, backing, disc size, and compatibility with the intended abrasive. Confirm the combination on the features that matter—such as coating edges or hard–soft phase boundaries—rather than selecting by surface brightness alone.
How to Select Polishing Abrasives, Suspensions and Lubricants
Diamond Suspension vs. Diamond Paste
Both can be useful. Compare how the abrasive is applied, distributed, replenished, and lubricated.
For automatic dosing, verify compatibility with the actual system. For paste application, document charging and replenishment so the method does not depend on an operator’s unrecorded judgment.
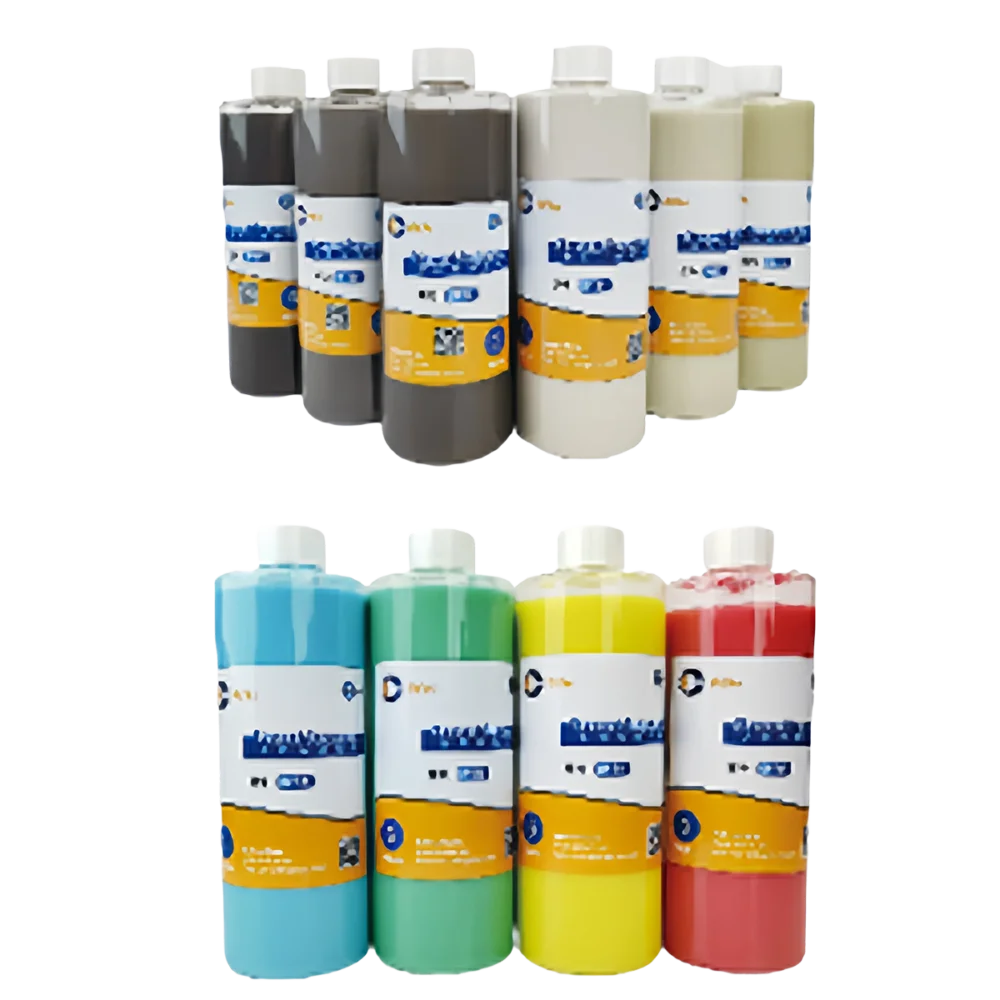
When evaluating diamond polishing suspensions, check the available particle sizes, carrier compatibility, and recommended cloth combinations against your preparation method. For automated delivery, also confirm that the formulation is suitable for the dosing system being used.
Monocrystalline vs. Polycrystalline Diamond
These products differ in particle structure and potentially in cutting behavior. However, a purchase decision should also consider size distribution, concentration, carrier, cloth, and method.
Request a representative comparison before accepting claims of faster preparation or fewer scratches. Do not attribute every performance difference to crystal type alone.
Diamond vs. Alumina: Select by Application, Not Abrasive Name Alone
Ask what problem the change is intended to solve:
-
Inadequate removal?
-
Persistent fine scratches?
-
Residual deformation?
-
Excessive relief?
-
Consumable cost?
-
Cleaning difficulty?
Changing abrasive without defining the desired improvement makes evaluation difficult.
Colloidal Silica vs. Alumina for Final Polishing
| Factor | Colloidal silica | Alumina |
|---|---|---|
| Main consideration | Chemical-mechanical response | Abrasive refinement and formulation |
| Application question | Does the specimen respond favorably to the chemistry? | Does the system provide the required final condition? |
| Cleaning concern | Residue and drying behavior | Particle removal and contamination |
| Acceptance basis | Actual analytical result | Actual analytical result |
Published EBSD guidance identifies colloidal silica as particularly useful, but material-specific exceptions exist. A technical preparation study used different final media for different materials, illustrating why a single final liquid should not be mandated for every alloy.
Compare final polishing suspensions by abrasive type, formulation, material compatibility, and cleaning requirements—not nominal particle size alone. If you are changing from alumina to colloidal silica, or between formulations, verify the result on a representative specimen before updating the routine method.
Abrasive Size in Micrometers vs. Grinding Grit Numbers
Polishing abrasives are commonly specified in micrometers. Do not interpret them as interchangeable with grinding-paper numbers.
For scale, 1 µm equals 1,000 nm, while 0.05 µm equals 50 nm. These are nominal particle dimensions—not guaranteed surface roughness or deformation depth.
Lubrication and Dosing: Too Little and Too Much Can Both Be Problems
Distinguish abrasive supply from lubrication.
An unsuitable delivery condition can change contact behavior, material removal, debris movement, and consistency. Record the formulation and dosing arrangement rather than writing only “add lubricant.”
What to Request from a Polishing Consumables Supplier
Request:
-
Abrasive type and nominal size.
-
Relevant particle-size information.
-
Carrier and material compatibility.
-
Recommended cloth combinations.
-
Dosing and cleaning guidance.
-
Storage requirements and shelf life.
-
Batch identification.
-
Automatic-delivery compatibility.
-
Safety data.
Evaluate diamond polishing suspensions, final polishing suspensions, and lubricants as matched components of a method.
How to Build a Metallographic Polishing Sequence
Start from the Actual Ground Surface—not a Standard Recipe
The starting condition determines the first useful polishing operation.
A specimen with consistent fine grinding marks needs a different approach from one containing deep isolated damage or a non-flat surface.
Separate Initial Polishing, Fine Polishing and Final Preparation
Initial Polishing: Remove Remaining Grinding Damage
Use an abrasive–cloth combination capable of removing the incoming condition efficiently.
Fine Polishing: Reduce Scratches and Deformation
Advance only when evidence of the previous stage has been removed.
Final Preparation: Meet the Examination Requirement
Final preparation may involve oxide polishing, a selected vibratory step, or another suitable route. It is not automatically “the same process for longer.”
Published preparation guidance describes progressions from approximately 9 µm to 0.05 µm for particular EBSD methods. This is an example of staged refinement, not a mandatory sequence for every specimen.
When Can You Skip a Polishing Step?
Only when a trial shows equivalent acceptance with a useful reduction in total work.
A shorter sequence that increases re-polishing or damages edges is not an improvement.
When Should You Return to Grinding Instead of Polishing Longer?
Return upstream when the required plane is wrong, serious damage is beyond efficient removal by the current step, or flatness is unacceptable.
For the relevant checks, see our guide to metallographic grinding sequence and process control.
Example Method Templates for Different Specimen Families
| Specimen family | Main concern | Required evidence |
|---|---|---|
| Routine steel | Complete damage removal | Unetched and appropriately etched results |
| Aluminum alloy | Smearing and phase relief | Preserved constituents and interfaces |
| Coated specimen | Edge integrity | Measurable original edge |
| Porous material | Pull-out and trapped residue | Recognizable, supported features |
| EBSD specimen | Residual surface condition | Diffraction performance under documented settings |
Do Not Use Time Alone as the Endpoint
A timer makes a validated process repeatable. It does not prove that an unvalidated process is complete.
During development, inspect at planned intervals. Stop once the required condition is achieved; avoid prolonging final polishing until excessive relief develops.
Process Control: Force, Speed, Cloth Condition and Cleaning
Adjust Force and Motion to the Polishing Surface
Record the force definition, holder configuration, specimen count, platen speed, head speed, and direction where applicable.
Do not transfer a recipe by copying one displayed number. A total holder force is not the same as a per-specimen force.
Control Abrasive and Lubricant Delivery
Document initial charging, replenishment, and any final cleaning stage. Automatic delivery is useful only if the selected liquid and delivery settings produce the required result.
Track Cloth Wear, Loading and Local Damage
Inspect for uneven wear, embedded debris, local damage, and changes in cutting behavior.
A cloth should not be retained merely because it has not reached an arbitrary specimen count.
Prevent Cross-Contamination Between Particle Sizes
Separate Cloths and Consumables by Preparation Stage
Clearly identify cloths, containers, and dispensing tools.
Clean Specimens, Holders and Splash-Prone Surfaces
A clean specimen placed into a contaminated holder can carry coarse particles into the final stage.
Store Cloths Without Introducing Coarse Debris
Use a storage method compatible with the cloth and suspension. University guidance specifically emphasizes covering cloths and preventing polishing liquid from drying and crystallizing.
Clean and Dry the Surface Without Creating New Artifacts
Cleaning must remove residue without damaging fragile features or reacting adversely with the material.
For compatible specimens and formulations, flushing during the final seconds of polishing is one documented approach to removing colloidal silica. It is not a universal instruction for water-sensitive specimens.
Control the Time Between Polishing and Examination
Define whether specimens should be examined immediately or can be stored.
Where comparisons are sensitive to surface condition, use a consistent preparation-to-analysis interval and document storage. Do not assume a specimen remains analytically unchanged simply because it is still shiny.
Material-Specific Metallographic Polishing Considerations
Aluminum Alloys: Smearing, Embedded Particles and Hard Constituents
Inspect soft matrix regions and hard particles separately.
A surface can appear uniform while the matrix has smeared across small features. Check whether the preparation preserves particle boundaries and whether foreign particles are embedded.
Hardened Steels: Persistent Scratches and Complete Damage Removal
Determine whether scratches come from incomplete earlier preparation or new contamination.
Increasing final-polishing time is inefficient when the current abrasive cannot remove the incoming damage adequately.
Stainless Steel and Titanium: Residual Deformation and Final Preparation
Use the intended analysis to judge the final condition.
Where chemical-mechanical or electrolytic methods are considered, confirm material compatibility and feature preservation rather than applying a general alloy-independent formula.
Cast Iron: Preserve Graphite and Distinguish Pull-Out
Inspect graphite retention and the surrounding matrix. A cavity caused by constituent loss should not be reported automatically as original porosity.
Coatings and Surface Layers: Retain the Original Edge
A rounded coating edge is not always a polishing-only problem. Check the resin–specimen interface for gaps and inadequate support before changing the cloth or polishing time. Our guide to metallographic mounting and edge retention explains how mounting method, resin selection, and cooling or curing conditions affect edge support.
Multiphase Materials: Minimize Differential Removal
Evaluate both phases and their boundary.
A low-scratch surface with substantial relief may be less useful than a slightly less reflective surface with better geometry.
Ceramics and Carbides: Control Chipping and Constituent Loss
Inspect edges and brittle constituents for damage. Validate support, abrasive selection, and load together.
Electronic Assemblies: Preserve Soft Metals and Mixed-Material Interfaces
Define the target plane carefully because different materials can respond differently during polishing.
Check for displacement, smearing, relief, and loss of small interface features. Use short inspection intervals when approaching a narrow target.
Step-by-Step Metallographic Polishing Procedure
Use this framework alongside equipment instructions, consumable requirements, and laboratory safety procedures.
Step 1: Confirm the Incoming Surface and Target Plane
Verify identification, material condition, grinding quality, and remaining preparation allowance.
Step 2: Select the Cloth, Abrasive, and Compatible Lubricant
Record the full combination, including nominal abrasive size and product identification.
Step 3: Prepare the Cloth According to the Consumable Instructions
Check seating, cleanliness, charging, and any conditioning requirements.
Step 4: Set the Validated Force, Motion, and Dosing Conditions
Confirm the holder, specimen count, and actual units.
Step 5: Polish to the Defined Inspection Endpoint
During method development, inspect before committing to a long uninterrupted cycle.
Step 6: Clean and Inspect Before Advancing
Remove carryover and check the target region, edges, and representative fields.
Step 7: Complete Final Preparation and Verify Analytical Readiness
Use the intended microscopy, measurement, or diffraction requirement.
Step 8: Record Deviations, Consumable Condition and Rework
Preserve the information needed to investigate changes in performance.
Polishing results depend on the surface and support created by earlier preparation stages. See our complete metallographic sample preparation workflow for how cutting, mounting, grinding, and polishing connect with subsequent examination and testing.
Metallographic Polishing Troubleshooting
| Symptom | Investigation priority |
|---|---|
| Persistent scratches | Incoming damage and step completion |
| Sudden isolated deep scratches | Contamination and damaged consumables |
| Relief | Differential removal and cloth compliance |
| Rounded edges | Support, cloth, load, and time |
| Pull-out | Constituent fragility and preparation severity |
| Smearing | Deformation and ineffective removal |
| Residue | Liquid compatibility and cleaning |
| Poor EBSD despite optical brightness | Surface condition and acquisition factors |
Why Do Scratches Remain After Final Polishing?
Check whether the preceding stage was complete and whether the final abrasive is capable of removing the incoming condition.
Do not use a very fine final liquid to compensate for unresolved coarse damage.
Why Do New Deep Scratches Appear Suddenly?
Inspect for coarse-particle carryover, damaged cloths, contaminated holders, and dried deposits.
A sudden defect in an otherwise stable method often warrants a contamination check before wholesale recipe changes.
Why Is There Relief Between Hard and Soft Phases?
Different removal rates can produce height differences, particularly with compliant surfaces. Evaluate cloth support and final-polishing duration.
Why Are Edges Rounding Despite a Mirror Finish?
Brightness does not demonstrate geometry. Inspect the interface and review mounting support, polishing surface, load, and time.
Why Are Inclusions, Graphite, or Brittle Particles Pulling Out?
Investigate whether preparation is fracturing or dislodging constituents. Compare the feature before and after a controlled method change.
Why Is the Surface Smearing?
Determine whether material is being displaced rather than effectively removed. Review the abrasive–surface combination, lubrication, and applied conditions.
Why Does Colloidal Silica Leave Residue or Surface Marks?
Check cleaning timing, drying on the surface, cloth storage, and compatibility with the material. Do not allow a convenient cleaning shortcut to become an uncontrolled part of the method.
Why Does EBSD Performance Remain Poor After Optical Polishing?
Residual deformation or contamination may be involved, but preparation is not the only possible cause.
Compare results under documented acquisition conditions. Do not claim that a polishing change improved performance if detector settings or acquisition parameters also changed.
When Is the Cause Upstream of Polishing?
If specimens repeatedly arrive with excessive deformation, cracking, or coating damage, review the sectioning process before extending the polishing sequence. Our guide to low-damage metallographic cutting explains how cutting wheels, coolant, clamping, and feed conditions influence the specimen delivered to later preparation.
Also revisit mounting when support is inadequate and grinding when flatness or damage removal is incomplete. Polishing is the final refinement stage, not a remedy for every upstream failure.
How to Verify Polishing Quality for the Intended Analysis
Inspect the Unetched Surface Before Etching
Document pores, inclusions, interfaces, and visible preparation artifacts before etching changes contrast.
Verify Edges, Interfaces, Inclusions, and Porosity
Inspect the required locations—not only the most attractive field.
For a coating, include the edge. For a porous specimen, check representative pores and surrounding material.
Evaluate Surface Condition After Appropriate Etching
Where etching is part of the examination, check whether the microstructure is revealed clearly and consistently.
The purpose of this check is not simply to produce a clearer image, but to preserve evidence that supports an engineering conclusion. For the broader relationship between prepared surfaces, material structure and inspection decisions, read our introduction to metallography and microstructure analysis.
Use Analysis-Specific Acceptance Criteria
Optical Microstructure Analysis
Require visibility and preservation appropriate to the features being assessed.
Coating and Layer Measurement
Require an intact, supported edge and suitable measurement geometry.
Microhardness Testing
Require a surface and support arrangement suitable for reliable indentation placement and measurement.
SEM and EBSD
Use the actual imaging or diffraction task to validate preparation, with acquisition conditions recorded.
Validate Across Operators, Runs and Cloth Life
Include repeated preparations and relevant operators. Compare new, partly used, and near-replacement cloth conditions.
A single successful specimen demonstrates possibility, not routine capability.
Record the Method as a Complete Consumable–Machine System
| Record | Required information |
|---|---|
| Specimen | Material, condition, geometry, target |
| Incoming surface | Grinding method and inspection |
| Cloth | Identity, backing, condition |
| Abrasive | Type, nominal size, formulation, batch |
| Fluid | Lubricant and delivery |
| Machine | Holder, force definition, motion |
| Endpoint | Time and inspection criteria |
| Cleaning | Method and drying |
| Result | Analytical acceptance and rework |
Use Standards Within Their Actual Scope
Identify the applicable preparation guidance, test method, and customer requirement.
ASTM E1558 concerns electrolytic polishing; it does not establish that an arbitrary cloth-and-diamond sequence is validated for a particular coating or alloy.
How to Choose a Metallographic Polishing Machine
Manual, Semi-Automatic and Automatic: Compare Functions, Not Labels
| Capability | Purchasing question |
|---|---|
| Specimen handling | Which operations remain hand-held? |
| Force control | How is force applied and defined? |
| Method storage | Can approved settings be recalled? |
| Dosing | Which liquids can be delivered consistently? |
| Cleaning | What remains manual? |
| Recording | What process information can be retained? |
An automatic metallographic polishing machine can improve control, but cannot automatically validate an unsuitable method.
Match Specimen Capacity and Holder Geometry
Specify actual mount dimensions, specimen shapes, batch sizes, and target output.
Confirm that required holders and accessories are included in the quotation.
Compare Force Control, Motion, and Repeatability
Request a demonstration at the relevant operating conditions, not only at convenient supplier settings.
When Does a Vibratory Polisher Add Value?
Evaluate whether it improves the required surface condition or reduces hands-on work enough to justify elapsed time, capacity, and maintenance.
Vibratory polishing is a documented option for removing minor deformation after mechanical preparation, particularly for selected EBSD work.
When Should Electropolishing Be Evaluated Instead?
Consider it for suitable materials where the analytical task benefits from an electrochemically prepared surface. Confirm that selective dissolution or inclusion attack will not compromise the investigation.
What Determines Metallographic Polishing Machine Price?
Compare the complete configuration:
-
Machine and preparation head.
-
Holders and adapters.
-
Force and motion control.
-
Dosing equipment.
-
Platens and attachment systems.
-
Installation and training.
-
Service and spare parts.
-
Required consumables.
A lower base-machine price can conceal accessories essential to the actual application.
What to Require in a Supplier Sample Trial
Provide a routine specimen and a difficult specimen. Request the full method, images, analytical results, hands-on time, elapsed time, consumable use, repeat runs, and rework observations.
Use these trial results to compare metallographic grinding and polishing machines by specimen capacity, force control, dosing options, and operator workload. Choose the configuration that reproduces your required result, including the holders and accessories needed for routine preparation.
What Is the Real Cost per Analytically Acceptable Specimen?
The relevant unit is a specimen that supports the intended conclusion, not simply one that has completed the machine cycle.
Include Re-Polishing, Re-Etching, and Repeat Analysis
Account for cloths, liquids, labor, cleaning, equipment allocation, repeat preparation, repeat imaging, and specimen loss.
Track First-Pass Acceptance and Hands-On Time
Compare Cloth and Suspension Cost per Accepted Specimen
Measure liquid consumption and useful cloth life under comparable acceptance criteria.
A low-priced suspension that increases rework may be more expensive overall. Conversely, a premium product is not economically justified merely by its label.
An Illustrative Purchase-Justification Example
The following is hypothetical, not a customer result. Assume 200 specimens and successful recovery of all reworked specimens.
| Cost or outcome | Workflow A | Workflow B |
|---|---|---|
| Cloths and polishing liquids | $160 | $240 |
| Hands-on labor at $30/hour | 12 hours / $360 | 8 hours / $240 |
| Allocated equipment and maintenance | $80 | $120 |
| Cost before rework | $600 | $600 |
| Specimens requiring rework | 30 | 10 |
| First-pass acceptance | 85% | 95% |
| Additional work at $15 per reworked specimen | $450 | $150 |
| Total cost | $1,050 | $750 |
| Cost per final accepted specimen | $5.25 | $3.75 |
Under these assumptions, Workflow B saves $1.50 per accepted specimen. At 800 specimens per month, that would equal $1,200 monthly.
If adoption required an additional $18,000 investment, simple payback would be 15 months. This excludes financing, implementation, taxes, and changing workload. The purchase case only holds if the assumed acceptance and labor improvements are demonstrated.
Decide Whether to Change the Method, Consumable or Machine
The bottleneck may be contamination, an unsuitable cloth, inconsistent dosing, poor incoming grinding, or inadequate capacity.
Choose the intervention supported by the trial data.
Metallographic Polishing FAQ
Does Metallographic Polishing Remove Metal?
Yes. Material removal is part of the process, so targeted regions must be monitored.
Can Polishing Remove All Grinding Scratches?
A suitable sequence can remove grinding scratches, but serious unresolved damage may require returning to an earlier step.
What Is the Difference Between a Polishing Cloth and a Pad?
Terminology varies. Compare construction, compliance, abrasive compatibility, and intended use.
Is Diamond Better Than Alumina for Every Material?
No. Selection depends on the preparation stage, material, supporting surface, and final requirement.
When Should Colloidal Silica Be Used?
When its chemical-mechanical action is suitable for the material and improves the required final condition. It is commonly used in EBSD preparation.
How Long Should Final Polishing Take?
Long enough to meet the validated endpoint, but not so long that relief or feature loss develops.
Does Every EBSD Specimen Need Vibratory Polishing?
No. It is one possible final-preparation route, not a universal requirement.
Can One Polishing Method Be Used for Steel and Aluminum?
Only if both results are validated. Their deformation behavior and constituent structures can require different conditions.
When Should a Polishing Cloth Be Replaced?
When its condition no longer delivers the validated result, or when contamination or damage cannot be controlled.
Is Electropolishing the Same as Etching?
No. Electropolishing aims to prepare the surface through controlled dissolution; etching aims to reveal structural contrast. Electrochemical equipment may support both operations, but their objectives and operating conditions differ.
Choose a Polishing System Around the Evidence You Need to Preserve
Begin with the incoming surface and the analytical requirement. Then select the method, cloth, abrasive, lubricant, and machine configuration.
Verify the result at the edge, interface, phase, or feature that matters. Finally, compare total cost using accepted specimens and repeat-analysis burden.
That approach produces a defensible purchasing decision—and a preparation method the laboratory can reproduce.
Request a Polishing Method and Equipment Recommendation
Persistent scratches, phase relief, or rounded edges after polishing? Send us your specimen material, target feature, current grinding and polishing sequence, cloth and abrasive details, and intended analysis. We can help evaluate suitable consumables, process adjustments, and equipment for your laboratory requirements.
Include defect photographs, current parameter settings, specimen dimensions, and daily sample volume so the discussion can focus on your actual process.